
3D Mapping and Rendering: Key Tools for Developers
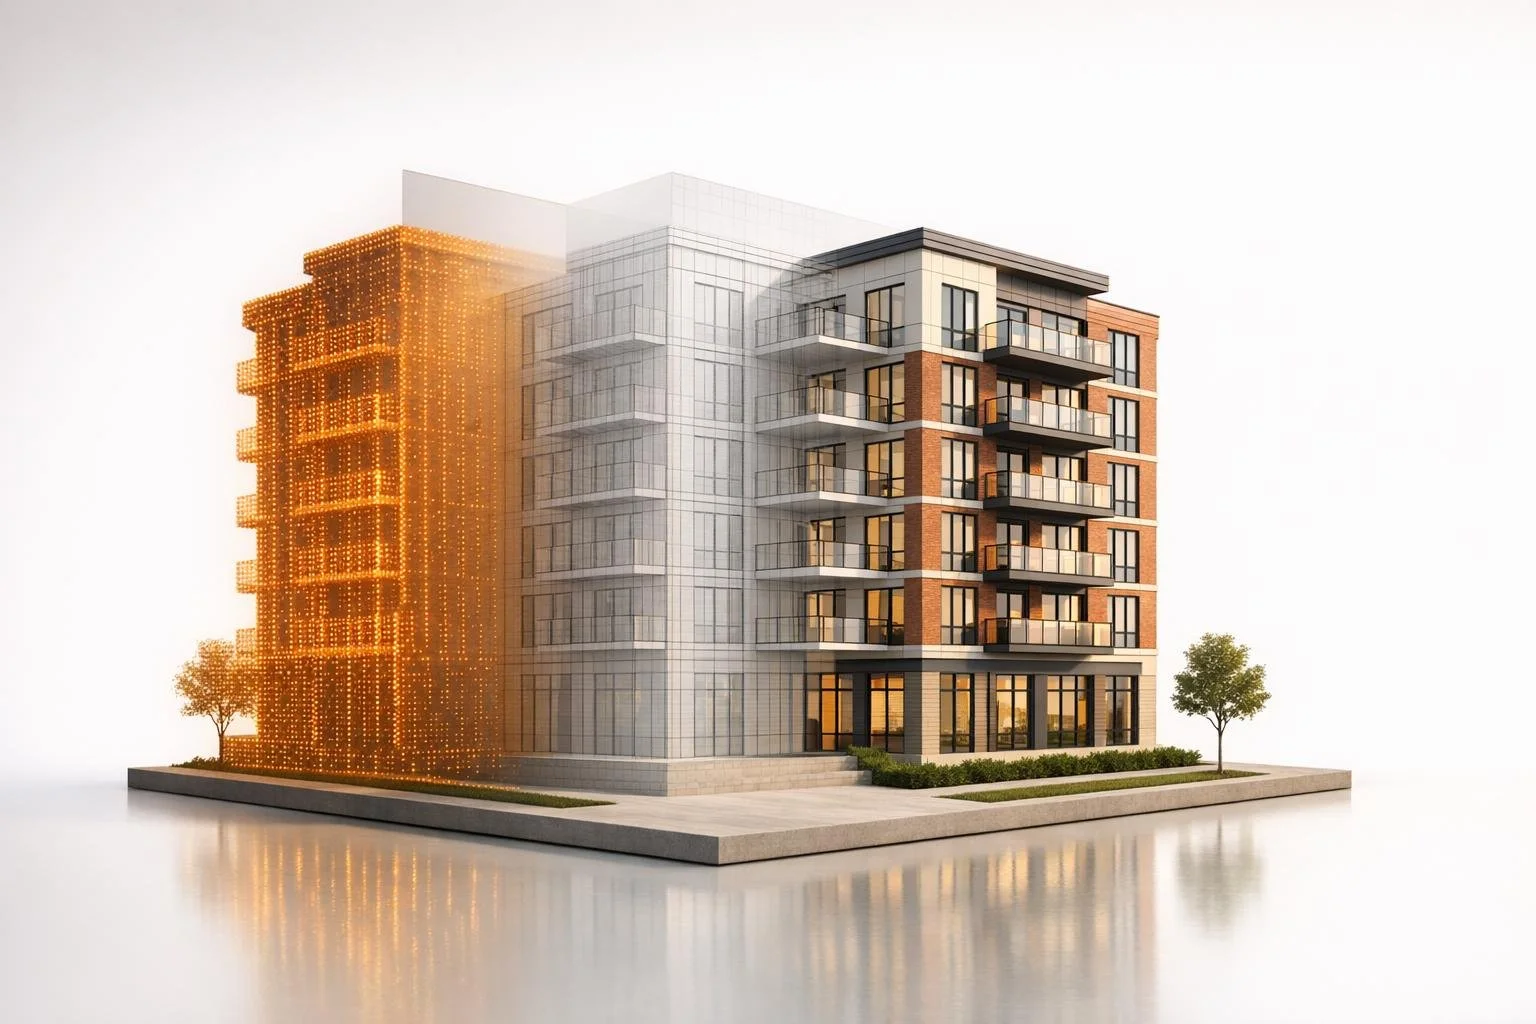
3D mapping and rendering are transforming how developers plan and present projects. Here's how these tools work together:
- 3D Mapping: Captures the physical world using technologies like LiDAR and drones to create precise digital models of sites (e.g., with 11-inch horizontal accuracy). Useful for site analysis, elevation, and utility mapping.
- 3D Rendering: Converts architectural plans into lifelike visuals, allowing stakeholders to visualize unbuilt projects. Ideal for marketing, investor pitches, and public presentations.
- Combined Power: Mapping provides accurate site data, while rendering brings designs to life for better decision-making and alignment across teams.
Tools Overview:
- Lumion: Integrates CAD models with geographic data, offers real-time updates, and features a vast asset library.
- Enscape: Syncs directly with BIM tools, provides instant changes, and supports VR walkthroughs.
- Twinmotion: Focuses on real-time rendering, geolocation tools, and asset libraries for quick iterations.
- D5 Render: Combines real-time rendering with AI tools for fast, high-quality visuals.
- Corona Renderer: CPU-based rendering for photorealistic interiors with an easy learning curve.
- V-Ray: Offers both CPU and GPU rendering for studio-grade visuals and precise lighting.
Each tool serves different stages of development, from quick drafts to polished presentations. Developers often combine real-time tools for speed and offline renderers for detail. The choice depends on project needs, hardware, and goals.
How to Render Realistic Interiors in Architecture
sbb-itb-99d029f
1. Lumion
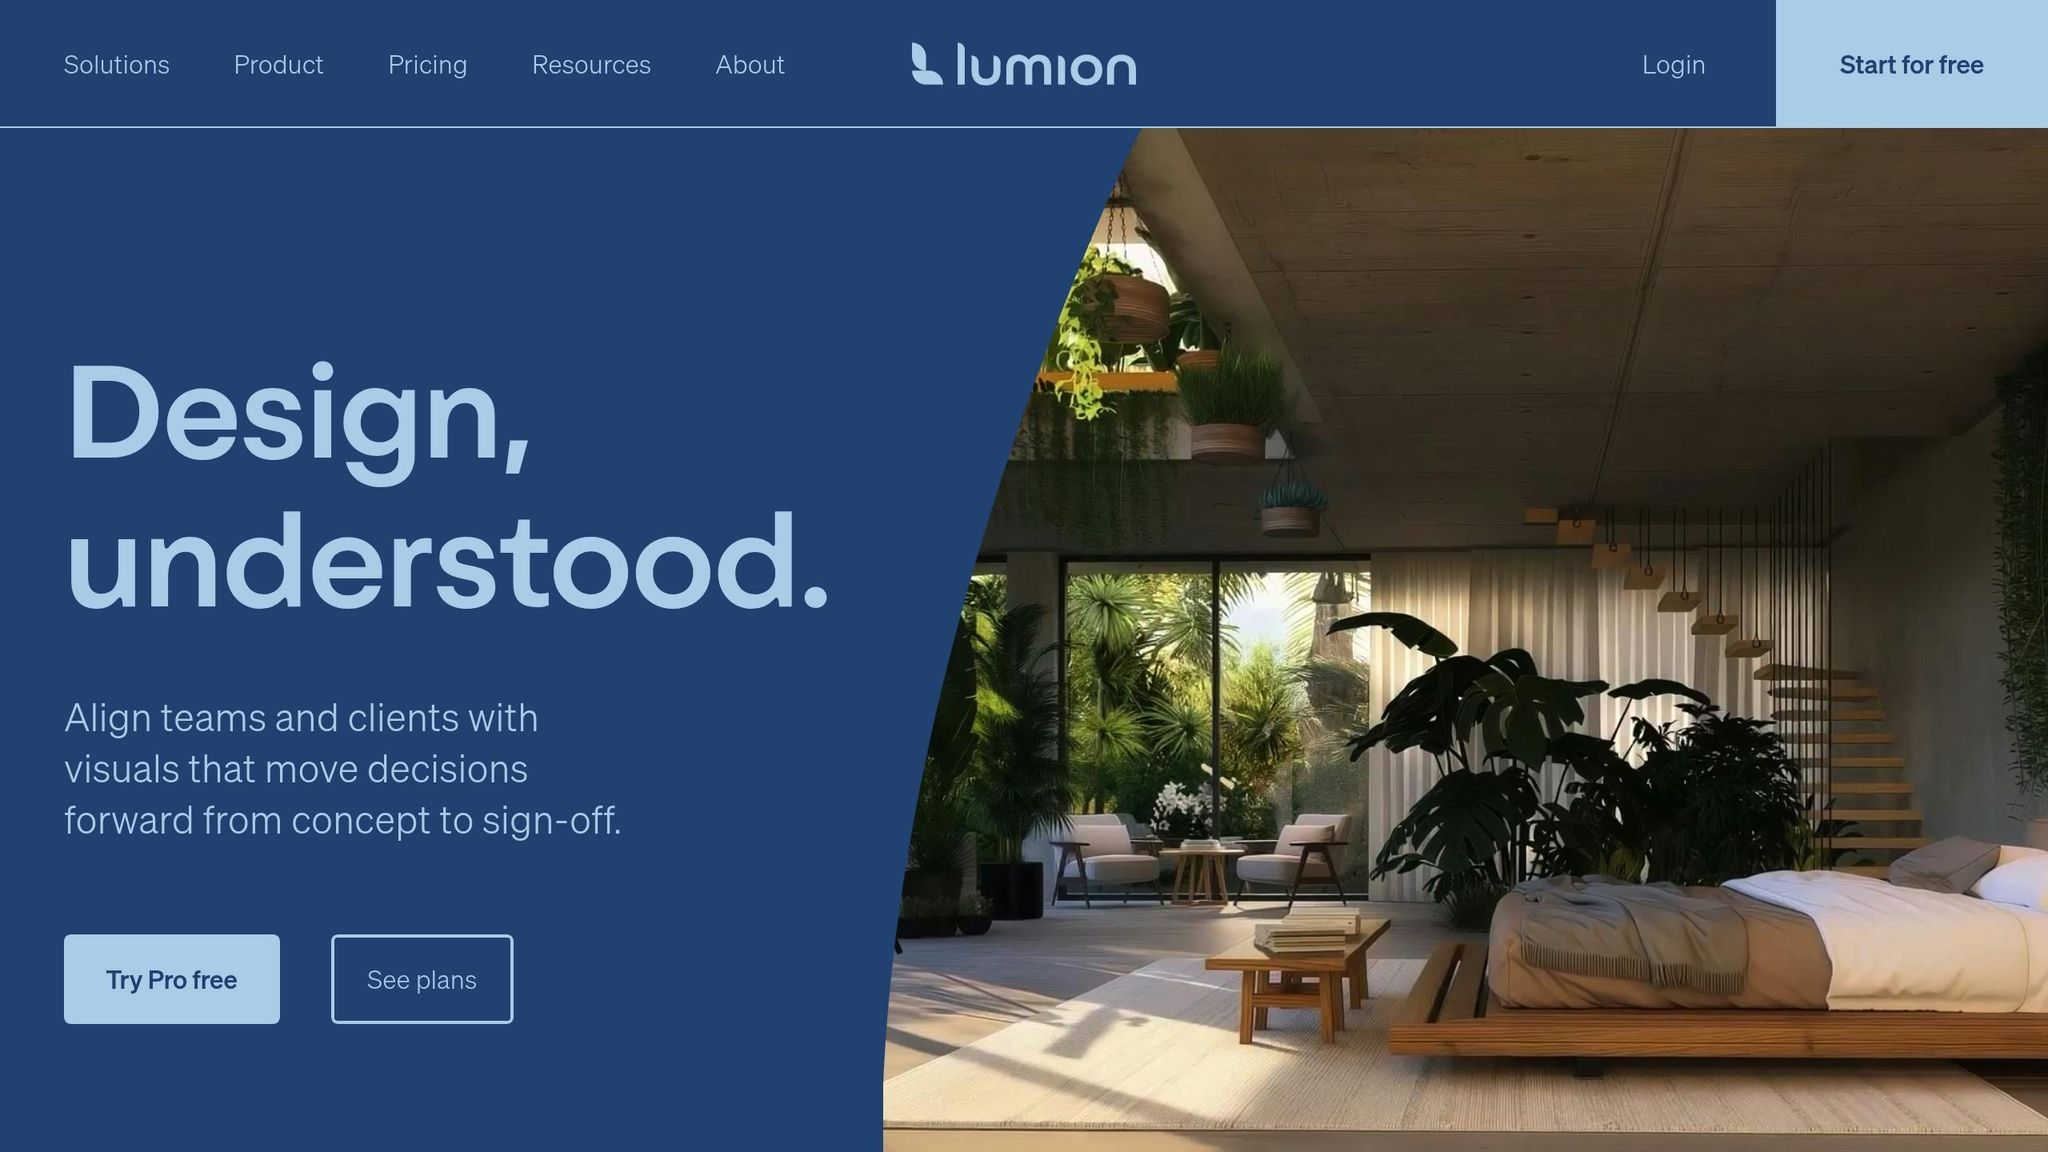
Lumion connects CAD models to their surroundings by incorporating real geographic data and using a commercial real estate market comparison tool. Through the Landscape tab, developers can access OpenStreetMap to import elements like buildings, roads, water features, green spaces, and transit networks for countless locations worldwide, from New York to Tokyo [4][6]. By inputting GPS coordinates and adjusting the radius (up to 10 x 10 km), users can download terrain elevation heightmaps and satellite imagery for creating realistic ground textures [4][8].
Mapping Integration
The Photo Match effect enhances realism by overlaying a 3D model onto a photograph of the actual site, ensuring the visualization fits seamlessly with its real-world location [6]. Developers can customize the imported map data by hiding OSM buildings, randomizing building heights, or adjusting transparency to emphasize their designs [4]. Additionally, the "Clamp Heightmaps" feature aligns the lowest terrain point to 0, simplifying integration with CAD models [4].
Rendering Speed
With Lumion LiveSync, users can establish a real-time link between Lumion and CAD software like Revit, SketchUp, and Rhino, ensuring instant updates to models without the hassle of constant exporting and importing [5][6][9].
Lorenzo Langella, Associate Architect at Studio Transit, shares: "Efficiency and speed are key for us, and Lumion has proven to be invaluable – it lets us quickly modify and render updates so that we can meet tight deadlines without compromising on quality" [9].
Lumion's asset library, featuring over 8,000 items - including 2,400+ nature assets and 900+ characters - allows developers to quickly populate their scenes [9].
Hardware Requirements
For optimal performance, hardware needs vary based on project complexity:
- Simple projects require a GPU with a G3DMark score of 8,000+ (e.g., GTX 1060 with 6GB+ VRAM).
- Complex scenes need at least 14,000+ (e.g., RTX 3060 with 10GB+ VRAM).
- Ultra-complex builds demand 22,000+ (e.g., RTX 3090 with 16GB+ VRAM) [7].
Additionally, Lumion requires a minimum of 105 GB of free disk space and performs best with NVME m.2 storage for handling large scene files [7].
Real Estate Workflow Benefits
Lumion Cloud streamlines collaboration by enabling developers to share 360-degree panoramas and renders through secure links or QR codes, speeding up client feedback and approval cycles [9]. The software's AI upscaler can produce print-ready images up to 16K resolution, helping marketing teams launch campaigns even before construction begins [9]. For those interested, a 14-day free trial of Lumion Pro is available for testing its capabilities [9]. Up next, we’ll dive into Enscape's features and how it compares.
2. Enscape
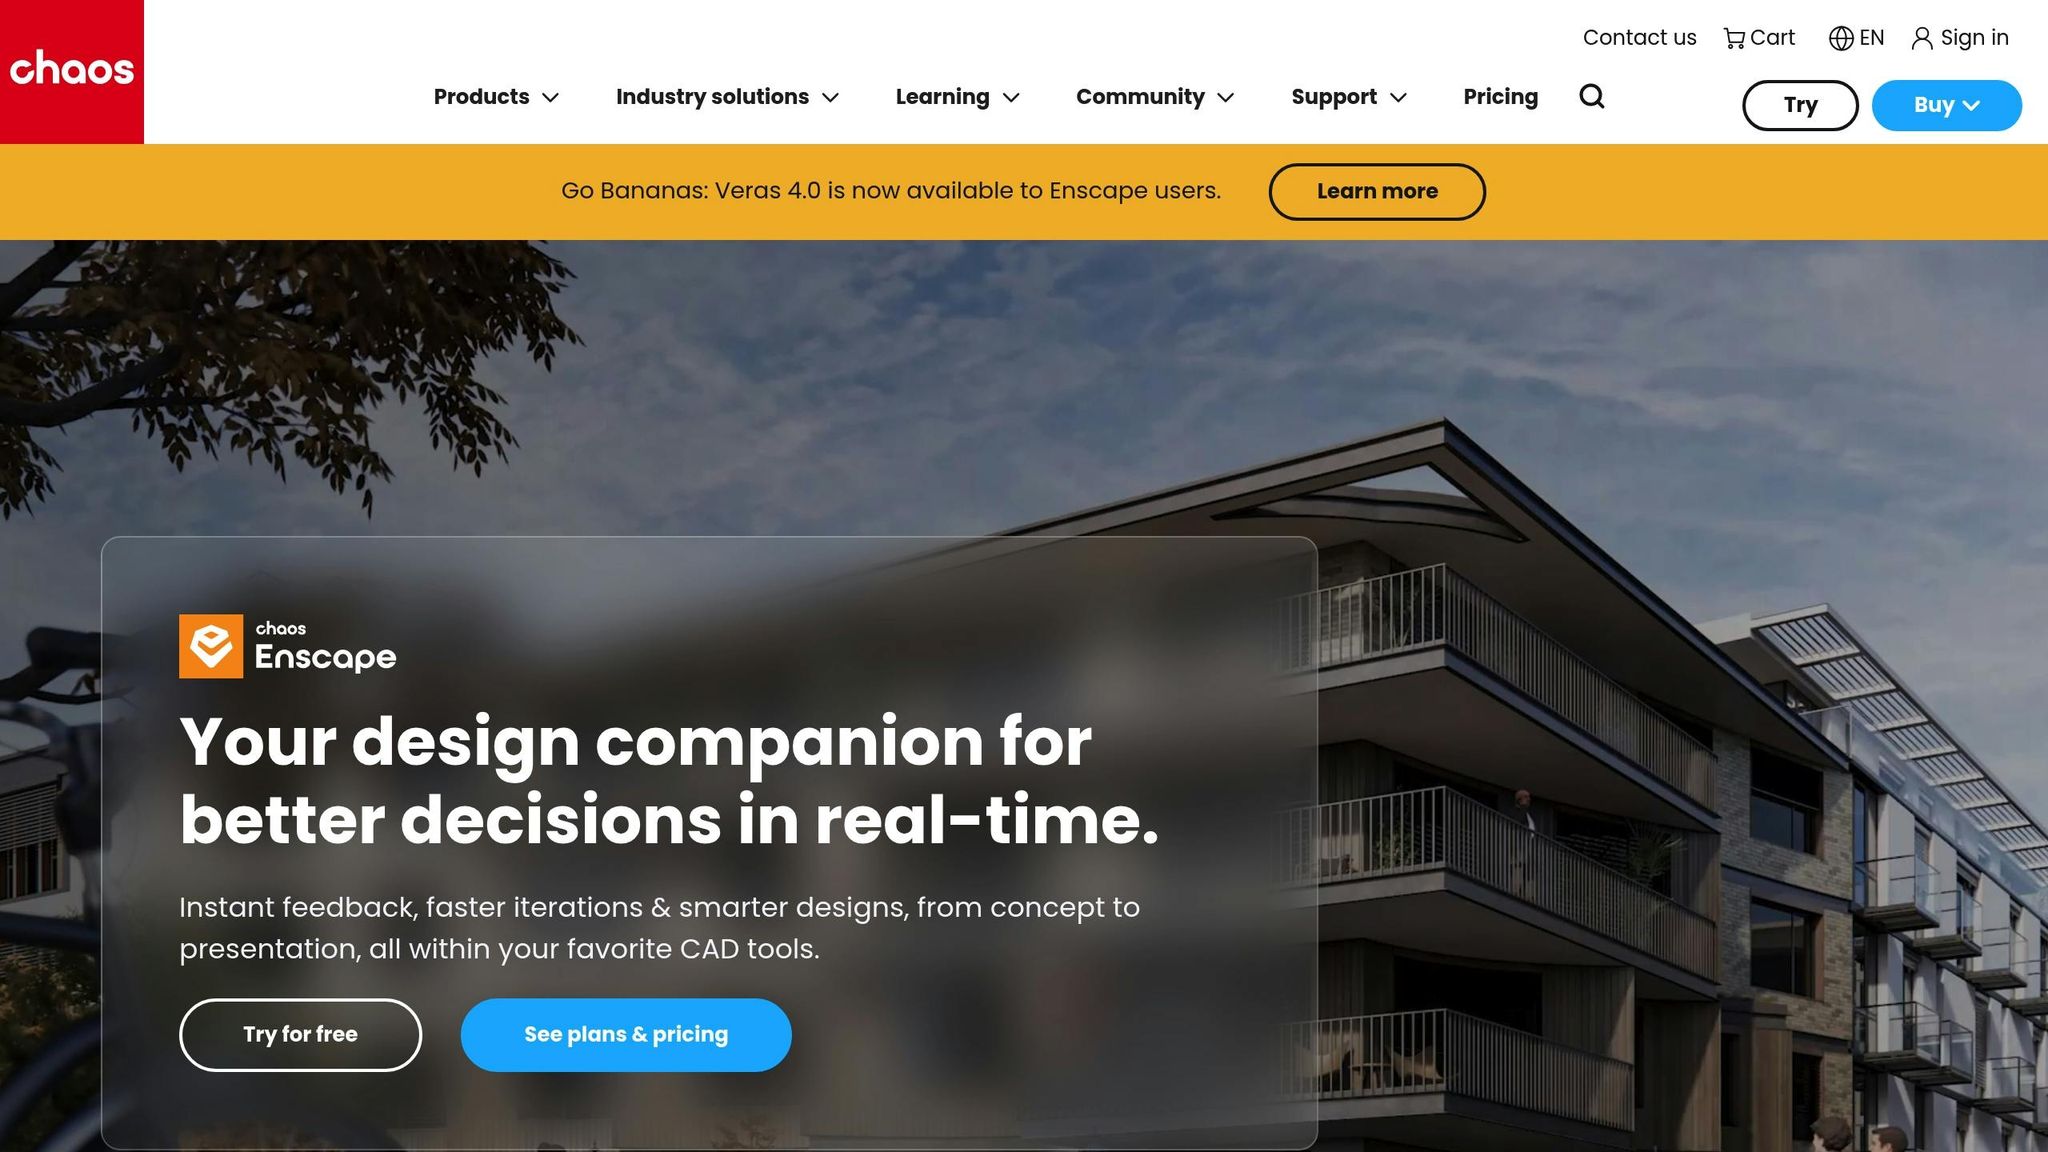
Enscape combines mapping and rendering to create detailed visualizations for development projects. It works seamlessly with popular CAD and BIM tools like Revit, SketchUp, and Rhino, eliminating the need for manual exports or switching between programs [11]. Its Site Context feature uses OpenStreetMap data to bring real-world elements - like buildings, streets, sidewalks, and terrain - into your renderings [18, 19]. You can select areas ranging from 328 square feet to 32,805 square feet, making it easy to analyze urban sites without manually modeling the surrounding environment [10].
Mapping Integration
Imported geometry appears only in the Enscape window, keeping your project file clean while delivering realistic visuals, including accurate horizons and reflections [18, 19]. Adjustments to project orientation and site context can be made directly within the software [10].
Dan Stine, Director of Design Technology at Lake | Flato Architects, says: "The added site context adds a lot of value for a small amount of effort. Plus, it obscures the horizon line, which is rarely seen (and, as such, should not show up in reflections either)" [10].
Rendering Speed
One of Enscape's standout features is its real-time synchronization. Any changes made in CAD or BIM software - whether it's wall heights, materials, or window placements - are instantly reflected in Enscape [11]. This allows developers to make adjustments during client meetings and see the results in seconds.
Steve Nonis, Principal Architect at Turner Fleischer, highlights: "At Turner Fleischer, Enscape transforms design into a dynamic process that enables quick, creative iterations and instant client feedback" [13].
Hardware Requirements
Enscape relies on GPU power, and advanced features work best with NVIDIA RTX or AMD RX6xxx cards. The minimum requirement is a NVIDIA GeForce GTX 1660 with 4GB VRAM [18, 22, 25]. For smoother performance during complex walkthroughs, enabling NVIDIA Deep Learning Super Sampling (DLSS) can significantly boost frame rates [14].
These capabilities make Enscape a strong contender for real estate and architectural workflows.
Real Estate Workflow Benefits
Enscape allows you to export projects as standalone executables or web-based models, enabling clients to explore designs without needing an Enscape license [24, 25]. It also supports VR headsets like Oculus Rift and HTC Vive, offering immersive walkthroughs [15].
Dan Smith, Technical Director at Hunters South Architects, notes: "Whilst Enscape is great for visualisation and VR, it's also a comprehensive addition to coordination and clash detection" [13].
For those interested, Enscape offers a 14-day free trial with full access to its features [24, 25].
Next, we’ll take a look at how Twinmotion approaches real-time visualization.
3. Twinmotion
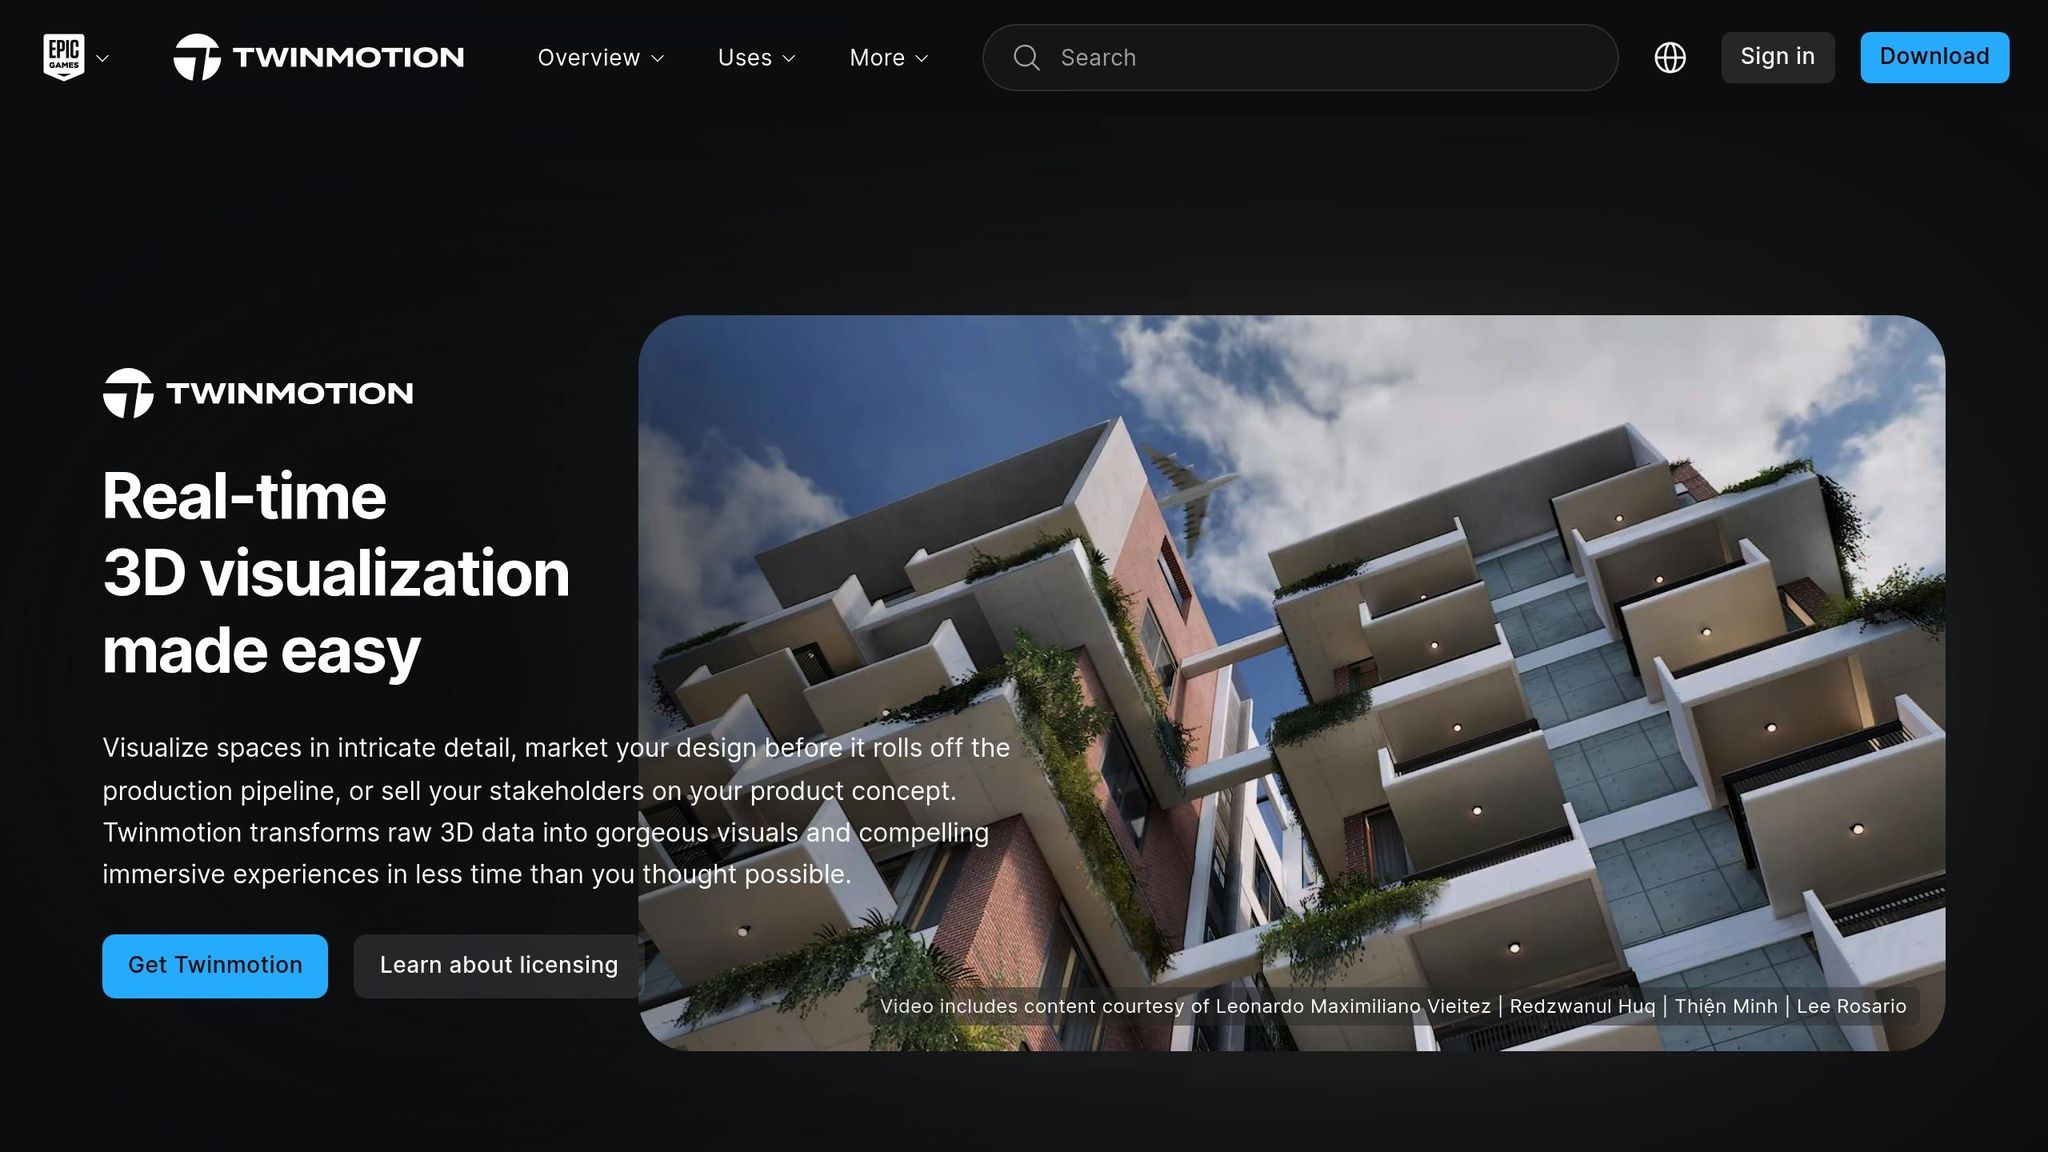
Twinmotion leverages Datasmith technology to seamlessly integrate with popular CAD and BIM tools. With just one click, it syncs directly with platforms like Revit, Archicad, SketchUp Pro, Rhino, and 3ds Max, transforming design data into photorealistic visuals in mere minutes [16][17]. The software establishes a live connection between your design software and Twinmotion, meaning any updates to your CAD or BIM model are automatically reflected without requiring you to reapply materials [17].
Mapping Integration
Twinmotion comes equipped with geolocation tools that enable precise sun and shade studies based on real-world coordinates [16]. For large-scale projects, you can export Twinmotion projects to Unreal Engine, where advanced geospatial data like Google Photorealistic 3D Tiles and Cesium for Unreal can be incorporated [16][18]. This feature allows developers to evaluate site conditions and neighborhood impacts with a high degree of accuracy, blending mapping precision with rendering capabilities for better project planning.
Rendering Speed
One of Twinmotion's standout features is its ability to render in real time. It also incorporates a Path Tracer for achieving photorealistic results and uses Nanite virtualized geometry to handle complex geometric details [16][20]. This real-time functionality means you can make design tweaks during client meetings and see the results instantly [16][20]. Unlike traditional rendering methods, which can take hours or even days to produce a single frame, Twinmotion eliminates the waiting time. The Path Tracer feature further enhances the quality of still images and videos, making them highly realistic [16].
Hardware Requirements
For optimal performance, Twinmotion requires a dedicated GPU to support its real-time rendering and Path Tracer features. With the 2025.2 release, the software introduced Nanite virtualized geometry, which manages highly detailed geometric data without the usual performance slowdowns [16]. To achieve photorealistic rendering, a ray-tracing capable GPU with DirectX 12 support is necessary. Additionally, Twinmotion supports VR experiences through devices like HTC VIVE [16][17].
Real Estate Workflow Benefits
Twinmotion gives users access to a library of over 10,000 native assets, including "Smart Assets" that respond dynamically, such as trees that grow and doors that open automatically [16]. Beyond this, it connects to more than one million assets from Quixel Megascans, Sketchfab, and Adobe Substance [16]. For client presentations, Twinmotion Cloud allows stakeholders to explore 3D models via a standard web browser, eliminating the need for high-end hardware or software installations [16]. You can also create standalone executable files with Twinmotion Presenter for offline viewing [16][17]. The software offers a free 30-day trial for commercial users and is free for students, educators, hobbyists, and companies with annual gross revenue under $1 million [17].
With its extensive asset library and real-time rendering strengths, Twinmotion sets the stage for efficient and visually compelling workflows. Up next, we’ll dive into D5 Render and its unique take on real-time visualization.
4. D5 Render
D5 Render brings real-time geospatial data directly into your workspace through its integration with Cesium [21]. This feature automatically streams 3D terrain, satellite imagery, and Google's Photorealistic 3D Tiles, covering over 2,500 cities across 49 countries [34,36]. The City Generator further enhances this by importing OSM and Shapefile data to create roads, buildings, and topography. Additionally, the Section Cube tool allows you to remove specific building geometries from Cesium data, ensuring smooth merges and eliminating clipping issues [37,38].
Rendering Speed
When it comes to speed, D5 Render performs impressively. On mid-range GPUs like the NVIDIA RTX 3060+, it delivers around 30 FPS in complex scenes [23]. Generating a 4K still image typically takes less than two minutes with one-click output [23]. Version 2.7 introduced performance upgrades, doubling the animation rendering speed for scenes with heavy reflections and materials [22]. The software supports ultra-high resolutions, including up to 16K for images and 4K video rendering at 120 FPS. Performance is further enhanced by AI-powered upscaling through NVIDIA DLSS and Intel XeSS, provided the recommended hardware is in place [22].
Hardware Requirements
For smooth navigation and quick rendering, an NVIDIA RTX 3060 or higher is recommended [23]. D5 Render also supports Intel Arc A5/A7 series graphics cards and leverages Texture Streaming to optimize RAM usage and improve communication between the CPU and GPU [22]. If you're working with Cesium data over a slower internet connection, you can adjust the "Maximum Screen Space Error" setting to 100 for reduced bandwidth consumption, reserving a zero setting for final high-quality renders [34,35]. These features work together to simplify complex workflows while maintaining high-quality outputs.
Real Estate Workflow Benefits
D5 Render is particularly valuable for real estate development, offering real-time integration and automated asset management to streamline processes. It features LiveSync compatibility with eight major modeling tools, including SketchUp, 3ds Max, Rhino, Revit, and Archicad, ensuring that any changes to your primary model are instantly updated in the geospatial context [38,40]. The extensive asset library includes over 12,000 models and 2,000+ PBR materials [22]. AI-driven tools like AI Atmosphere Match, AI PBR Material Snap, and AI Enhancer simplify tasks such as lighting setup, material creation, and post-processing [22]. For client presentations, you can create interactive Panorama, Spatial, and XR Tours that are accessible through any web browser [22]. D5 Render is available in a free version (D5 Lite), with Pro and Team editions offering additional features for paid users [35,38].
5. Corona Renderer
Corona Renderer takes a different approach compared to D5 Render's real-time capabilities. It focuses on combining advanced mapping workflows with high-quality rendering, making it a powerful tool for professionals.
Mapping Integration
Corona Renderer seamlessly works with Autodesk 3ds Max and Maxon Cinema 4D, allowing users to import 3D mapping data like OBJ, FBX, and LiDAR files [24][25]. With the Chaos Vantage Live Link, introduced in Corona 12, users can explore large-scale scenes in real-time with ray tracing [26]. It also supports the .vrscene format, enabling smooth data exchange between various Chaos tools and renderers used in complex projects [24]. Tools like Chaos Scatter and AI-powered features simplify the process of populating terrains with assets and creating PBR materials from real-world images [24].
Rendering Speed
Corona Renderer relies on CPU-based rendering, leveraging high CPU performance to deliver photorealistic results [20][27]. Its denoising technology can cut rendering times by as much as 70% [24]. While the core engine is CPU-focused, its integration with Chaos Vantage (introduced in version 12) utilizes a high-speed GPU engine for real-time ray-traced rendering and instant feedback [26]. This setup lets users see immediate changes to lighting and materials without lengthy preview rendering.
Real Estate Workflow Benefits
Corona Renderer is designed with ease of use in mind - new users can learn the basics in just one day thanks to its intuitive interface [24]. The Chaos Cosmos library, featuring over 13,000 ready-to-render assets like furniture, vegetation, and people, speeds up the process of populating scenes for real estate projects [24]. Additional tools include the AI Material Generator, which transforms real-world photos into PBR materials, and the AI Upscaler, which can double or quadruple render resolution with a single click [24]. Built-in post-processing tools for tone mapping, bloom, and glare further streamline workflows by reducing the need for external editing software [24].
"What attracted me to Corona in the first place was its simplicity. It just felt a lot easier to use than many of the other render engines I have used in the past." - Steven Bracki, Founder, Bracki Creative [24]
Corona offers three pricing options:
- Corona Solo: $34.50 per month (billed annually at $414), providing a fixed license.
- Corona Premium: $42.90 per month (billed annually at $514.80), offering floating licenses and extra tools.
- ArchViz Collection: $78.90 per month (billed annually at $946.80), which includes Corona, Vantage, and Anima for crowd simulation [24].
Next, let’s see how V-Ray builds on these features.
6. V-Ray
When it comes to real estate development, achieving precise mapping and lifelike visualizations is non-negotiable. V-Ray has established itself as the go-to tool for creating photorealistic renderings in this field. Its rendering engine mimics the behavior of natural light on materials, making it a favorite for developers who need to showcase projects with accuracy and detail before construction even begins [32][33].
Mapping Integration
One standout feature, V-Ray Vision, offers a real-time viewer that displays projects and their surrounding environments instantly [29]. By combining V-Ray's rendering capabilities with mapping data - such as Google's Photorealistic 3D Tiles via APIs - it provides a seamless way to visualize how a development fits into its neighborhood [30][12]. This integration enhances the planning process and ensures designs are presented in context.
Rendering Speed
V-Ray supports two rendering modes: GPU and CPU, each tailored to different needs. The GPU engine harnesses the power of modern graphics cards to deliver faster results, making it ideal for quick iterations during client meetings [32]. Meanwhile, the CPU engine focuses on delivering unmatched accuracy, especially for complex effects and large-scale projects [32]. To streamline workflows further, the V-Ray Denoiser eliminates lighting noise in seconds, cutting down production times significantly [32].
For those without high-end hardware, cloud-based services like Autodesk Renderfarm come to the rescue. These platforms allow users to render complex scenes remotely, reducing the need for expensive local setups [33].
Hardware Requirements
For optimal GPU rendering, your hardware must meet NVIDIA CUDA or OpenCL standards [32]. V-Ray GPU also supports high-resolution textures (8K or 16K) through efficient texture streaming, ensuring smooth performance even with limited VRAM [32]. Handling large-scale projects is made easier with tools like V-Ray Proxies, which simplify dense objects like foliage, and instancing for repetitive elements such as windows [32]. To maintain accuracy, always set scene units to meters or millimeters before importing your geometry - this ensures V-Ray's lighting calculations (measured in Lux) remain precise [32].
| Feature | V-Ray CPU | V-Ray GPU |
|---|---|---|
| Best Use Case | Complex effects, maximum detail | Fast iterations, quick renders |
| Hardware Focus | Multi-core processors | NVIDIA CUDA / OpenCL GPUs |
| Memory Handling | System RAM | VRAM with texture streaming |
| Real Estate Impact | High-detail hero shots | Speedy client presentations |
Real Estate Workflow Benefits
V-Ray empowers developers to create visuals that inspire confidence among stakeholders [34]. Its advanced shaders can replicate fine details like dust, scratches, and fingerprints, as well as intricate materials like brushed metals and translucent foliage [32]. These small touches make a big difference - 67% of homebuyers prefer virtual tours when browsing properties, and homes with these features sell 31% faster on average [19]. Listings with virtual tours also attract 87% more views and can sell for up to 9% more than those without [19].
"The adoption of faster rendering techniques, such as V-Ray GPU rendering, has dramatically compressed production timelines, moving visualization closer to real-time fidelity." - ReelMind.ai [32]
Pricing for these services varies. Interior renderings typically cost between $600 and $1,500, while exterior renderings range from $800 to $2,500 [19]. Interactive 3D tours are priced between $315 and $869, and animated fly-throughs are charged per second, ranging from $140 to $220 [19]. By using V-Ray-rendered virtual tours, real estate agents can pre-qualify buyers, reducing no-shows and ensuring potential clients are already familiar with the property [19].
Comparison: Pros and Cons
3D Rendering Tools Comparison: Features, Hardware Requirements, and Best Use Cases
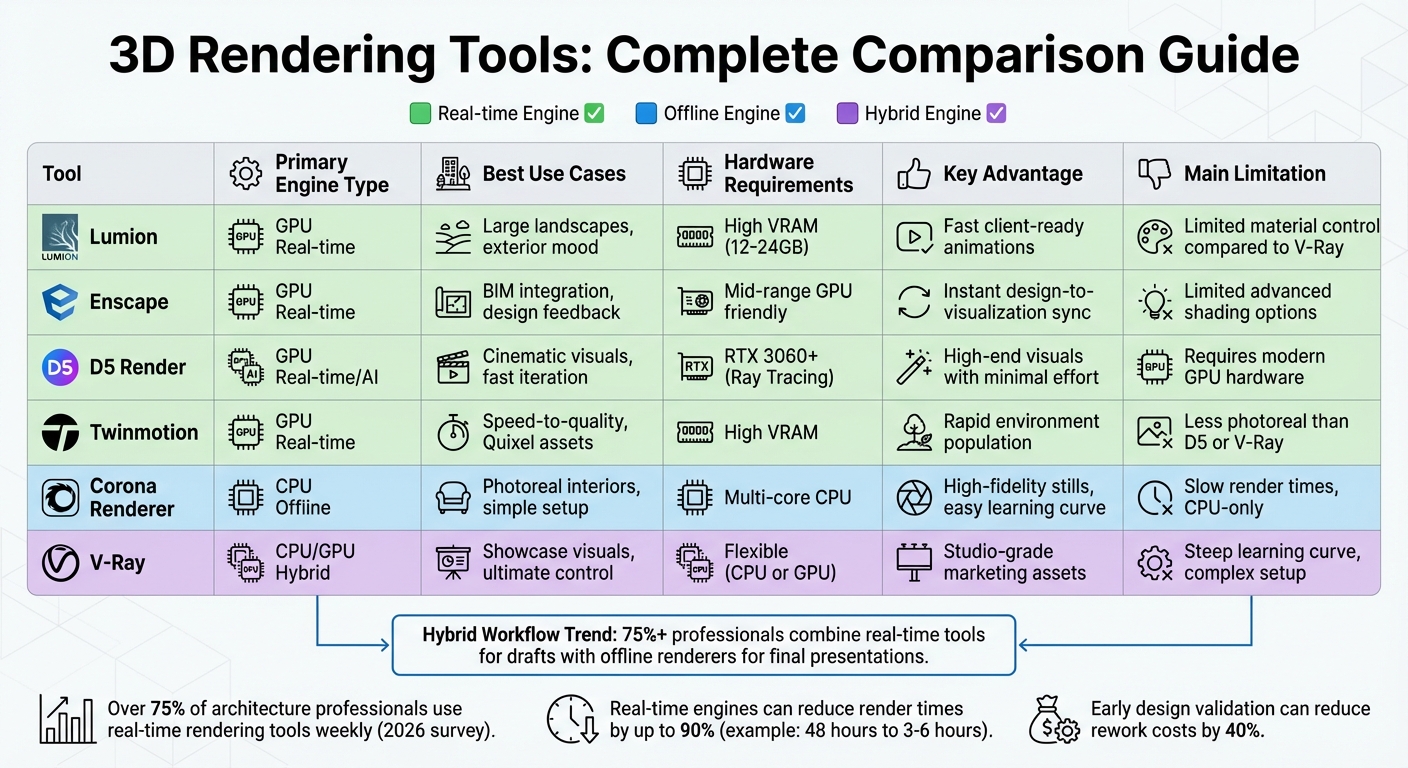
Choosing the right rendering tool depends heavily on the project's stage and presentation requirements. Real-time engines like Enscape, Lumion, D5 Render, and Twinmotion excel at delivering instant feedback, making them perfect for quick client presentations and iterative design workflows. On the other hand, offline engines such as V-Ray and Corona Renderer focus on achieving photorealistic results. Notably, V-Ray now includes a GPU-accelerated interactive mode, offering faster previews while maintaining its high-quality output [36].
When it comes to hardware demands, real-time tools are heavily reliant on GPUs, often requiring 12GB to 24GB of VRAM for handling complex scenes. In contrast, Corona Renderer operates exclusively on CPUs, and V-Ray provides the flexibility to use either CPU or GPU rendering [36][37]. These technical distinctions play a significant role in selecting the most suitable tool for specific project needs.
Speed is another major factor. For instance, one designer reported a significant reduction in render times when switching from Lumion to D5 Render, cutting the time for a 2–3 minute video from 48 hours to just 3–6 hours [35]. If immediate feedback within BIM software is the priority, Enscape is the fastest option. Meanwhile, tools like V-Ray and Corona Renderer, though slower, offer unmatched precision [38].
"Lumion favors speed-to-mood setups; V-Ray favors control-to-photoreal pipelines." - Burak Kurt, Archivinci [37]
An emerging trend in the industry is the adoption of hybrid workflows. Many professionals start with tools like Lumion or Enscape for rapid drafts and animations, then turn to V-Ray or D5 Render for polished, final visuals [37]. AI-driven features in D5 Render, such as automated lighting and denoising, further reduce manual setup time [23]. According to a 2026 survey, over 75% of architecture professionals now use real-time rendering tools at least once a week, reflecting a growing preference for faster, AI-enhanced solutions [38].
| Tool | Primary Engine | Best For | Hardware Focus | Key Advantage | Main Limitation |
|---|---|---|---|---|---|
| Lumion | GPU Real-time | Large landscapes, exterior mood | High VRAM (12–24GB) | Fast client-ready animations | Limited material control compared to V-Ray |
| Enscape | GPU Real-time | BIM integration, design feedback | Mid-range GPU friendly | Instant design-to-visualization sync | Limited advanced shading options |
| D5 Render | GPU Real-time/AI | Cinematic visuals, fast iteration | RTX 3060+ (Ray Tracing) | High-end visuals with minimal effort | Requires modern GPU hardware |
| Twinmotion | GPU Real-time | Speed-to-quality, Quixel assets | High VRAM | Rapid environment population | Less photoreal than D5 or V-Ray |
| Corona | CPU Offline | Photoreal interiors, simple setup | Multi-core CPU | High-fidelity stills, easy learning curve | Slow render times, CPU-only |
| V-Ray | CPU/GPU Hybrid | Showcase visuals, ultimate control | Flexible (CPU or GPU) | Studio-grade marketing assets | Steep learning curve, complex setup |
This comparison underscores how the right rendering tool can optimize workflows and analyze real estate market trends, balancing speed and visual fidelity to meet diverse project demands.
Conclusion
Bringing 3D mapping and rendering into a unified workflow has transformed how real estate professionals approach projects. Mapping platforms lay the groundwork by providing essential geographic and infrastructure details - like site boundaries, utility lines, and topography - while rendering engines turn this technical data into compelling visuals that engage investors, planners, and buyers alike [2][1]. This synergy helps teams validate their designs early, cutting down on costly rework by as much as 40% [28].
The choice of tools depends on your project stage and the team's skill set. For site assessments, 3D mapping is key. During the design phase, real-time rendering supports iterative adjustments, while offline renderers are ideal for final presentations [2][28][31]. Teams with less technical experience often find real-time engines helpful due to their user-friendly walk-through features. Meanwhile, seasoned visualization experts can take advantage of the precision offered by offline rendering tools [28][3].
"Unlike conventional drafts, property visualization software enables teams to walk through buildings virtually, spot design flaws early, and align stakeholders with clarity that static PDFs can't match." - Smart Spatial [1]
Looking ahead, digital twins are reshaping the industry. By combining IoT sensors, LiDAR scans, and BIM data into one model, developers can track construction progress, compare as-built conditions, and extend the model's use into facility management [39][1][3]. Early adopters of this technology have reported savings of 20–30% in both capital and operational expenses [28].
These advancements are paving the way for integrated platforms that simplify the entire process. For example, tools like CoreCast (https://corecastre.com) bring everything together - mapping data, pipeline tracking, and portfolio analysis - into one cohesive system. By linking geographic visualization with deal-stage workflows and competitive landscape analysis, teams can make faster, data-driven decisions without the hassle of switching between disconnected tools. This streamlined approach ensures that insights from 3D mapping and rendering directly inform underwriting, stakeholder communication, and investment strategies.
FAQs
When should I use 3D mapping vs. 3D rendering?
3D mapping is perfect for creating spatial and structural representations. It’s commonly applied in areas like site analysis or urban planning, where understanding the layout and relationships of spaces is crucial.
On the other hand, 3D rendering focuses on producing highly realistic visualizations or images. This makes it an excellent choice for presentations, marketing materials, or showcasing a polished vision of a project.
Both tools serve different purposes but complement each other within various stages of development workflows.
Which tool fits my workflow: real-time or offline rendering?
When deciding between the two, it all comes down to your workflow and priorities. Real-time rendering is perfect when you need fast, interactive visuals. It works well for tasks like virtual walkthroughs, quick updates, or client presentations where speed and adaptability are crucial. On the other hand, offline rendering is your go-to for producing hyper-detailed, photorealistic images. It's ideal for final approvals or creating marketing materials where the highest level of visual quality is key. In short, opt for real-time rendering for agility and interaction, and offline rendering when you need polished, high-end results.
What hardware do I need for smooth 3D site visuals?
For seamless 3D site visuals, opt for a high-performance workstation equipped with a multi-core CPU (such as an AMD Ryzen 5 or Intel Core i5 or better), at least 16 GB of RAM (or more if handling large datasets), a dedicated GPU with at least 4 GB of memory (like the NVIDIA RTX series), and a fast internal drive. These specs are key to achieving smooth and detailed rendering performance.